A must-read for beginners: A complete guide to common Epipremnum aureum care issues!
Advertisement
Why Epipremnum aureum Is the Perfect “First Plant” for Newbies?
If you’re new to plant parenting and feeling overwhelmed by the endless options—succulents that rot too easily, ferns that demand constant humidity, or flowering plants that need precise light—let us introduce your new best friend: the Epipremnum aureum (scientific name: Epipremnum aureum), also affectionately known as “Devil’s Ivy.” Native to the tropical rainforests of Southeast Asia, this vining plant has earned its reputation as a “forgiving green companion” for good reason: it’s resilient, adaptable, and stunningly beautiful, making it the ideal entry plant for anyone who wants to dip their toes into gardening without the stress of constant upkeep.
What makes Epipremnum aureum so beloved? For starters, its lush, trailing vines and heart-shaped leaves add a touch of tropical warmth to any space—whether you hang it in a macramé planter, let it cascade down a bookshelf, or train it to climb a moss pole. It’s also a powerhouse air purifier, proven to filter harmful toxins like formaldehyde, benzene, and xylene from the air, making your home not just prettier, but healthier too. Best of all, Epipremnum aureum is incredibly forgiving: it can tolerate missed waterings, low-light conditions, and even a little neglect—perfect for busy schedules, forgetful plant parents, or those who still haven’t figured out their “green thumb.”
But even the hardiest plants can run into trouble. Many new Epipremnum aureum owners find themselves staring at yellow leaves, brown tips, leggy vines, or even a plant that seems to be wilting no matter what they do. The good news? 90% of these issues are caused by simple, fixable mistakes—usually related to light, water, or soil. This guide is designed specifically for you: the beginner plant parent who wants to keep their Epipremnum aureum thriving, not just surviving. We’ll cover everything from choosing the right Epipremnum aureum variety to mastering the basics of care, troubleshooting common problems, and even propagating your plant to grow more greenery for free. By the end, you’ll have all the knowledge you need to become a confident Epipremnum aureum parent—and maybe even catch the plant parent bug!
Part 1: Get to Know Your Epipremnum aureum—Varieties & Basic Traits
Before diving into care tips, let’s take a moment to get familiar with the Epipremnum aureum family. While all Epipremnum aureum share the same core care needs, there are several popular varieties, each with unique leaf patterns and colors that can add personality to your space. Knowing which variety you have will help you tailor your care (especially when it comes to light, as some variegated types need a little extra sun).
The most common Epipremnum aureum varieties for beginners are:
Golden Epipremnum aureum: The classic! This is the most widely available variety, with heart-shaped leaves splashed with golden-yellow variegation. It’s fast-growing, incredibly hardy, and tolerates low light better than most other variegated types. If you’re unsure where to start, Golden Epipremnum aureum is always a safe bet.
Marble Queen Epipremnum aureum: A stunning variety with leaves marbled in white and green. Unlike Golden Epipremnum aureum, Marble Queen has more white variegation, which means it needs a bit more bright, indirect light to maintain its pattern (too little light, and the white parts will turn green). It grows a bit slower than Golden Epipremnum aureum but is just as easy to care for.
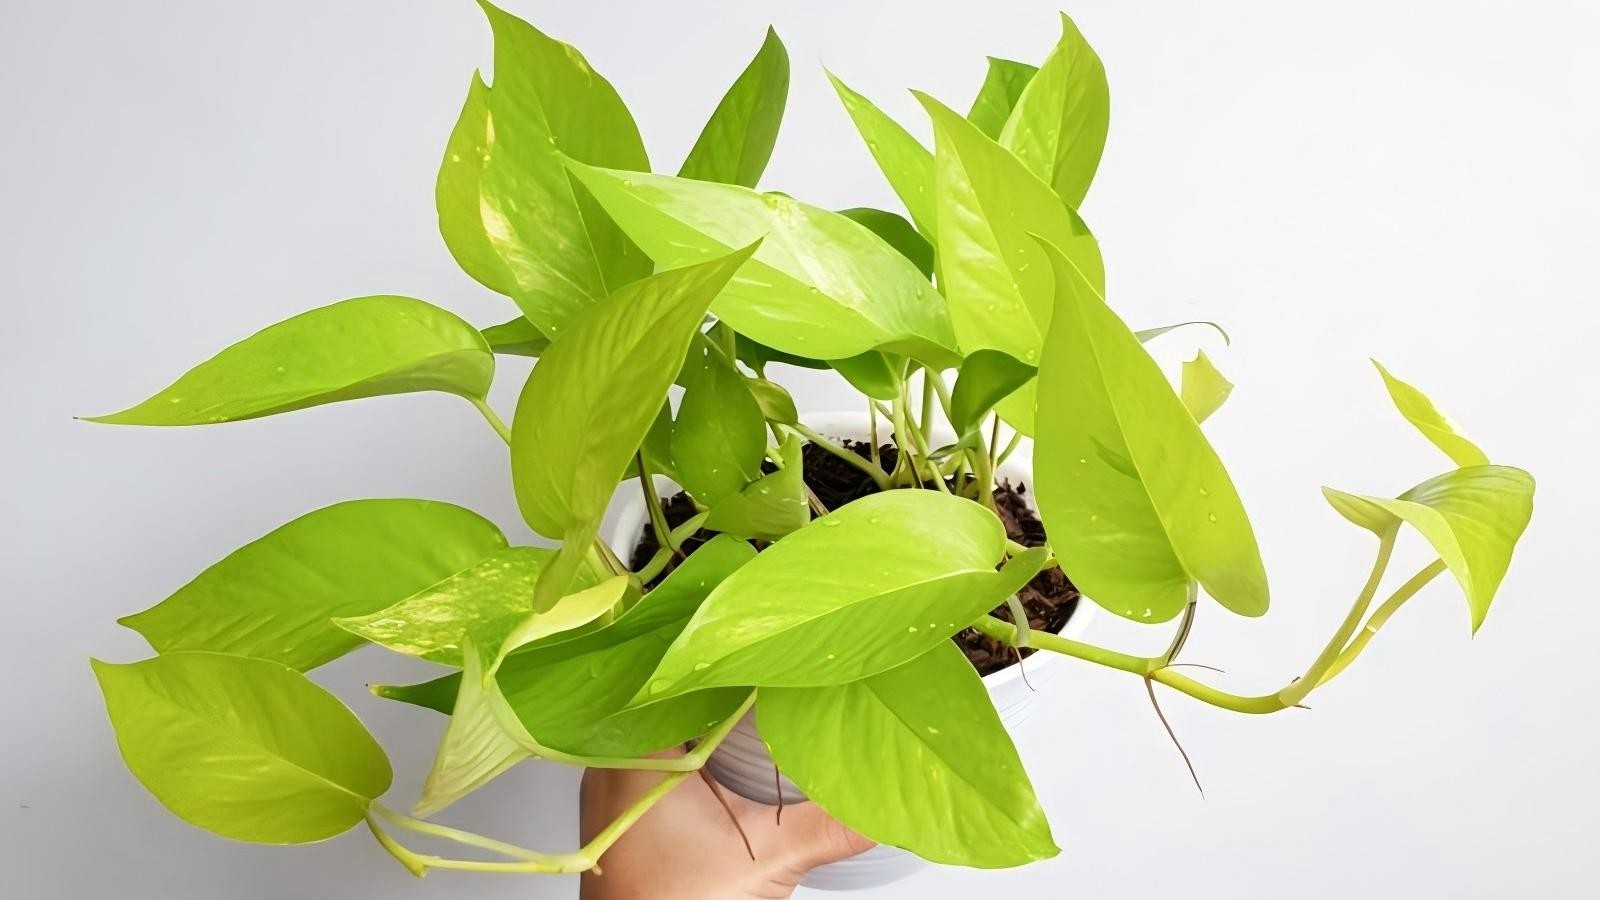
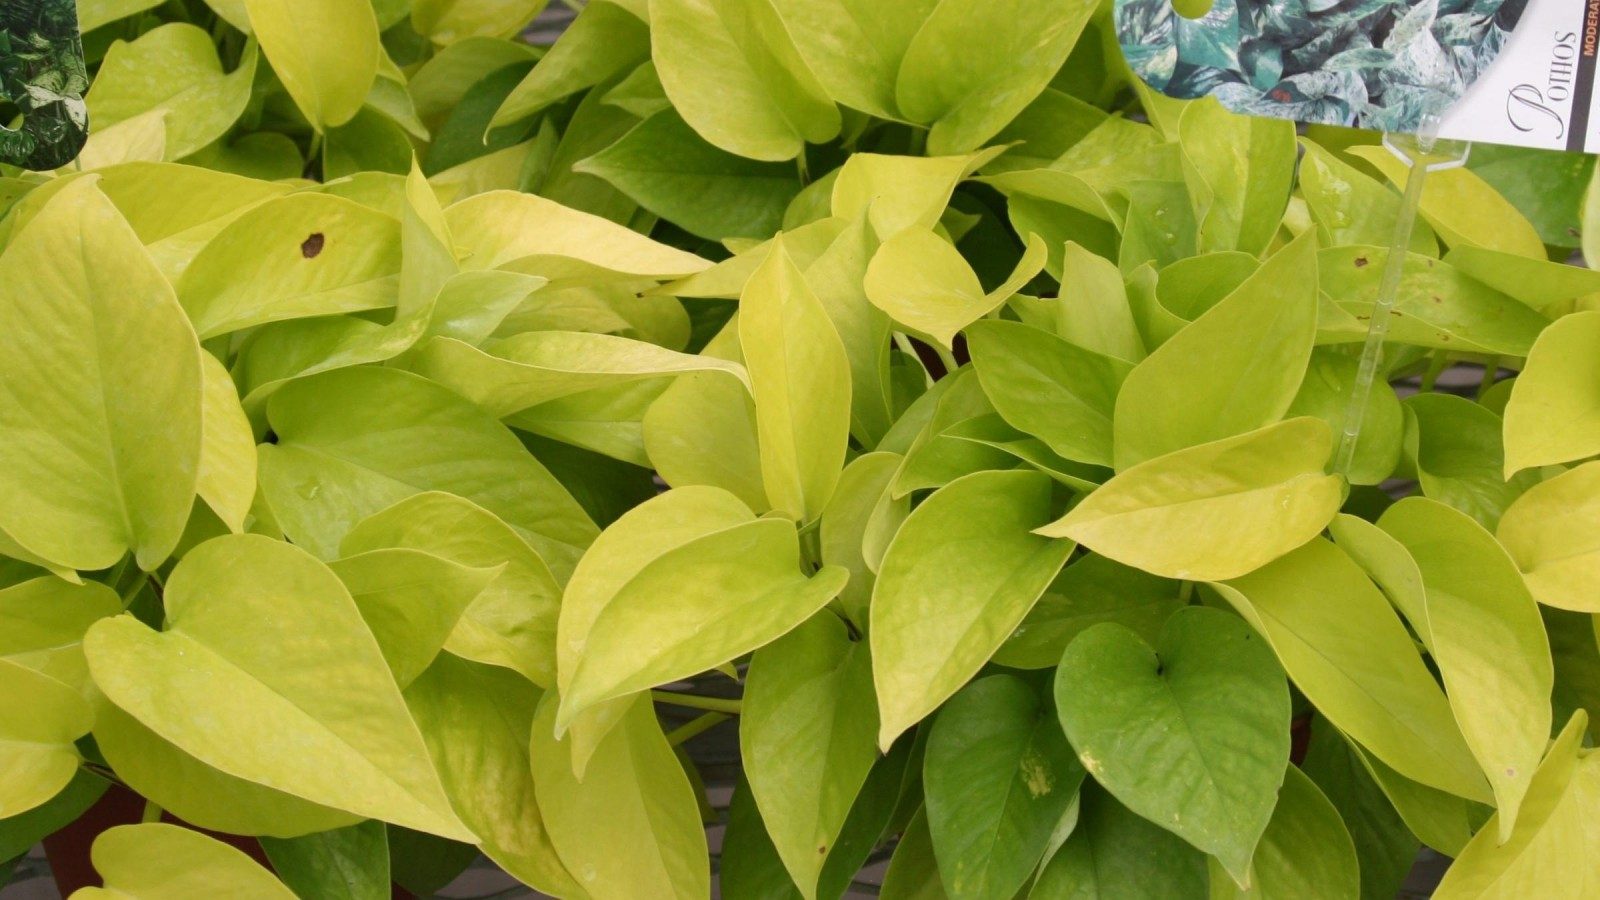
Neon Epipremnum aureum: True to its name, this variety has bright, lime-green leaves that glow in any room—perfect if you want a pop of color without any variegation. It’s fast-growing, hardy, and thrives in medium to bright indirect light, though it can tolerate low light too (it just won’t be quite as “neon” in dim spaces).
Jade Epipremnum aureum: For those who prefer a more minimalist look, Jade Epipremnum aureum has solid, deep green leaves with no variegation. It’s the most drought-tolerant of all Epipremnum aureum varieties and does exceptionally well in low-light areas—ideal for offices, hallways, or corners of your home that don’t get much sun.
Snow Queen Epipremnum aureum: Similar to Marble Queen but with even more white variegation (some leaves are almost entirely white!). It’s a slower grower and needs consistent bright, indirect light to keep its white color—if it doesn’t get enough light, the leaves will revert to green. It’s a bit more finicky than other varieties but well worth the effort for its striking appearance.
Cebu Blue Epipremnum aureum: A unique variety with silvery-blue, elongated leaves (slightly different from the classic heart shape). It’s a climbing plant by nature, so it loves moss poles, and thrives in medium indirect light. It’s a bit less common than other varieties but perfect for plant parents looking for something a little different.
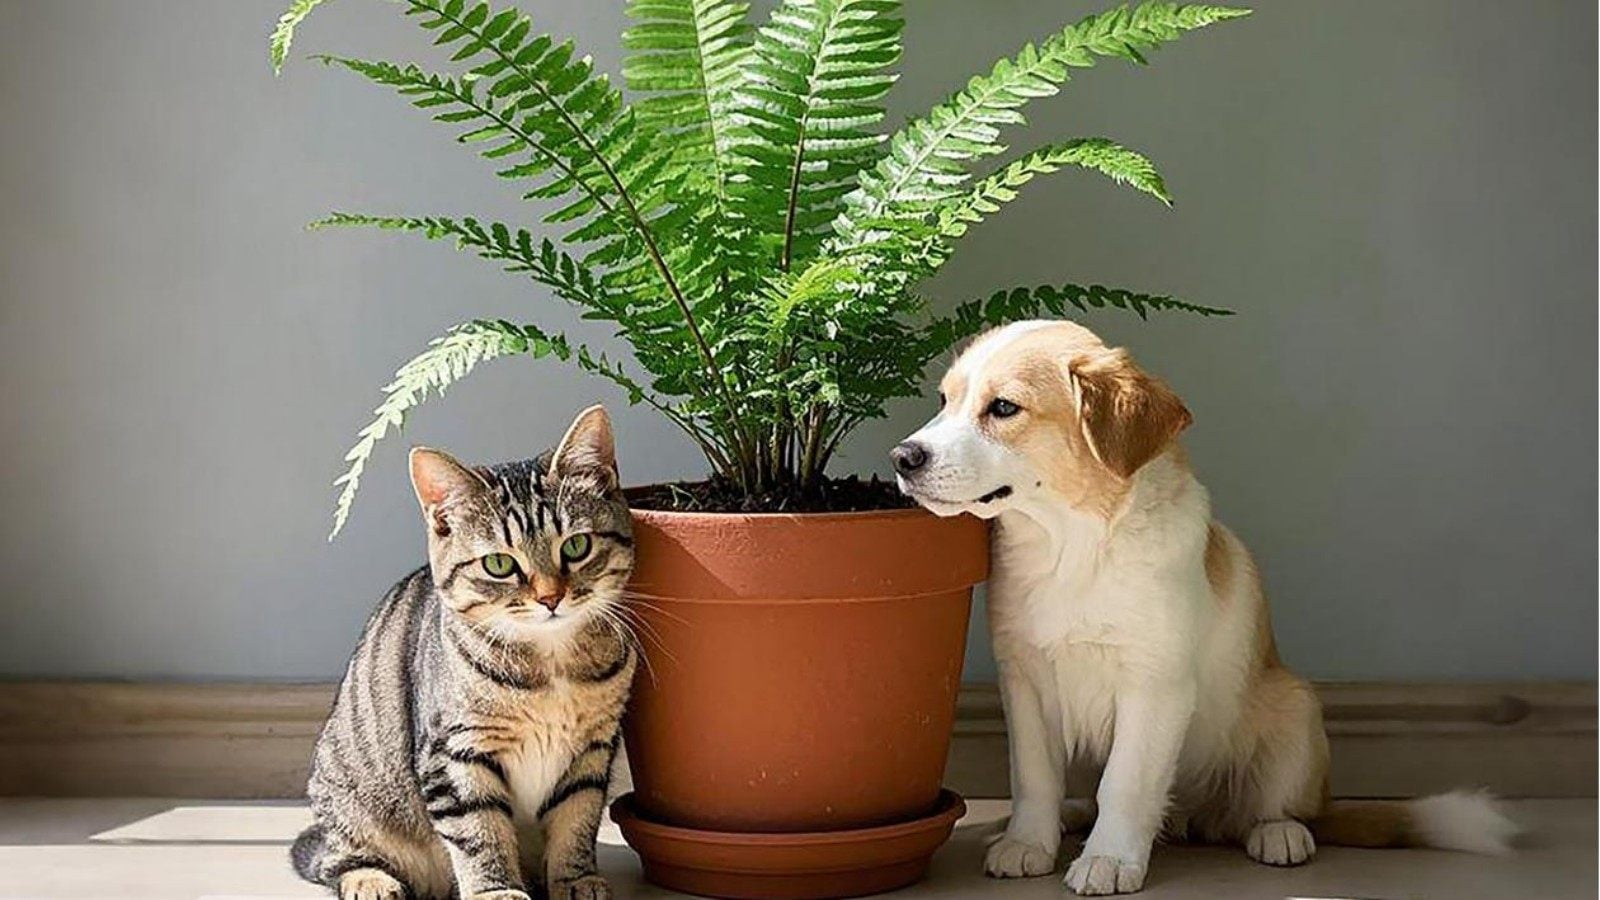
No matter which variety you choose, all Epipremnum aureum are vining plants that can grow up to 10 feet long (or more!) indoors with proper care. They have thick, glossy leaves and produce aerial roots (small, brown “roots” that grow from the stems) that help them climb and absorb moisture from the air. One important note: Epipremnum aureum is not pet-safe or child-safe. It contains calcium oxalate crystals, which can cause mouth and throat irritation, swelling, or vomiting if ingested. Keep your Epipremnum aureum out of reach of curious pets and small children.
Part 2: The Core of Epipremnum aureum Care—5 Essential Factors
The secret to a healthy Epipremnum aureum is mastering the basics. While Epipremnum aureum is forgiving, it still needs the right conditions to thrive. Let’s break down the five key factors—light, water, soil, temperature, and humidity—and share actionable tips to avoid common mistakes that trip up new plant parents.
1. Light: Bright Indirect Light Is Key (Avoid Direct Sun!)
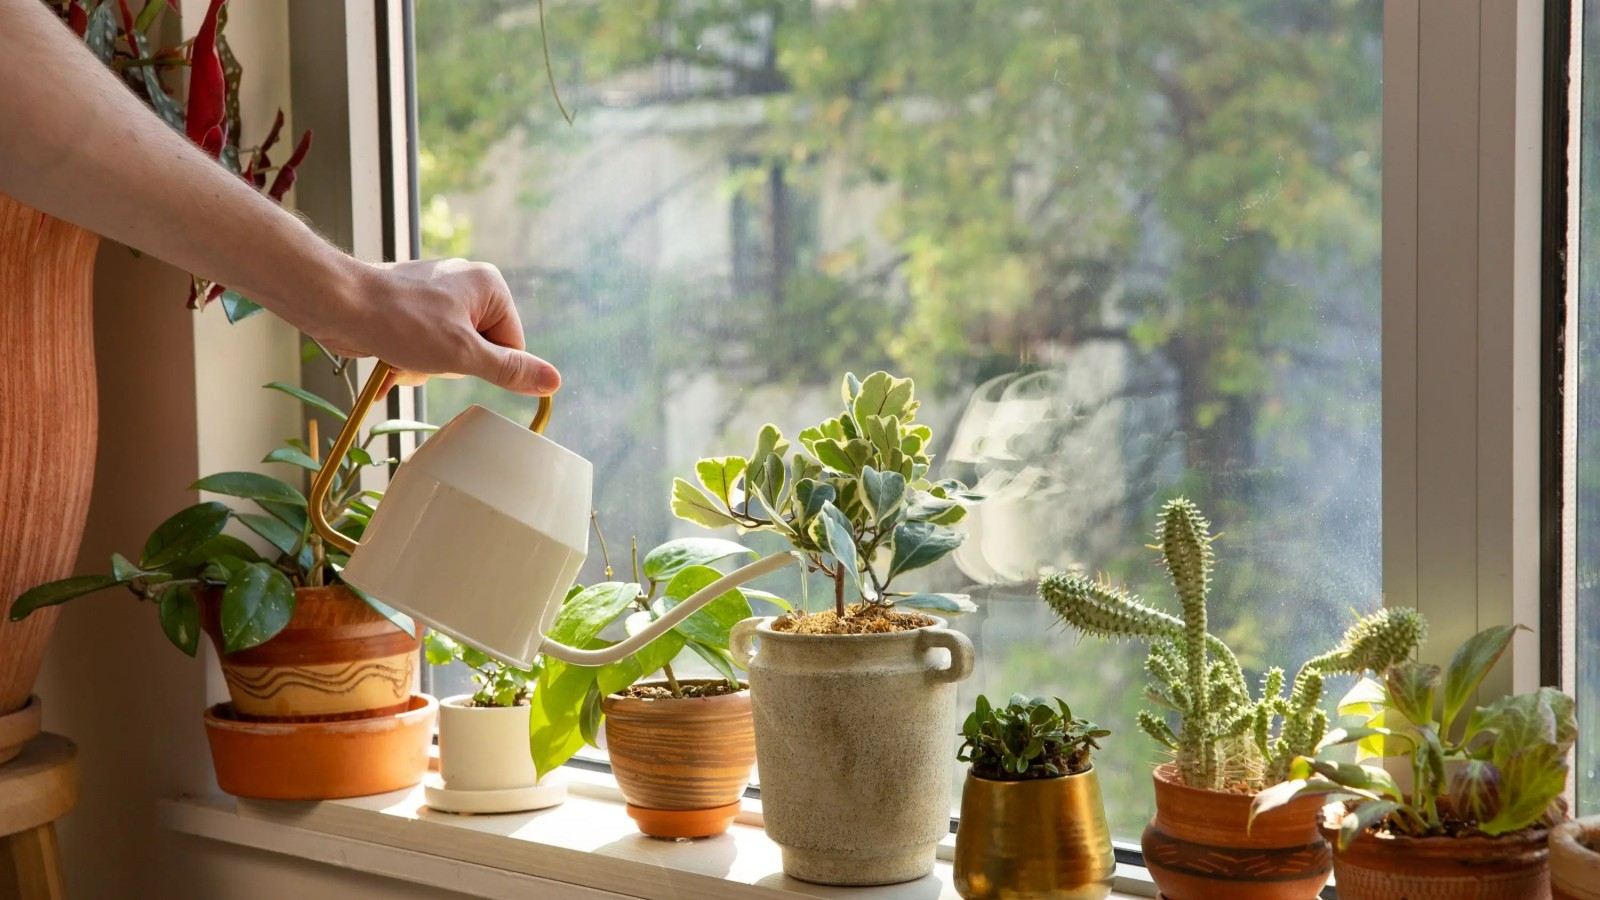
Epipremnum aureum thrives in bright, indirect light—this is the sweet spot between too much sun and too little shade. In its natural tropical habitat, Epipremnum aureum grows under the canopy of trees, where it gets filtered sunlight, not direct rays. Here’s how to replicate that in your home:
Ideal spots: Near a north or east-facing window (these windows get soft, morning light that won’t burn the leaves). If you only have south or west-facing windows (which get harsher afternoon sun), place your Epipremnum aureum 2–3 feet back from the window, or use a sheer curtain to filter the light. This will protect the leaves from sunburn, which appears as brown, crispy spots.
Low light tolerance: One of Epipremnum aureum’ best traits is its ability to tolerate low light. It can grow in dim corners, hallways, or offices with fluorescent lighting—but keep in mind that low light will slow its growth, and variegated varieties (like Marble Queen or Snow Queen) may lose their variegation (turn green) if they don’t get enough light. If your Epipremnum aureum is in a low-light area, you may notice it growing slower or becoming “leggy” (long stems with few leaves)—this is a sign it needs more light.
Signs of light problems: Brown, crispy leaf edges (too much direct sun); pale, yellow leaves or loss of variegation (too little light); leggy growth with large gaps between leaves (too little light).
2. Water: Less Is More (Overwatering Is the #1 Mistake!)
Overwatering is the most common mistake new plant parents make with Epipremnum aureum—and it’s the fastest way to kill your plant. Epipremnum aureum is a drought-tolerant plant that stores water in its thick stems and leaves, so it’s better to underwater than overwater. Here’s how to water your Epipremnum aureum correctly:
Check the soil first: Before watering, stick your finger 1–2 inches into the soil. If the soil feels dry to the touch, it’s time to water. If it’s still moist, wait 2–3 days and check again. This simple step will prevent overwatering every time.
How to water: Water thoroughly until water drains out of the bottom of the pot. Discard any excess water in the saucer—never let your Epipremnum aureum sit in standing water, as this will cause root rot (a deadly condition where the roots suffocate and rot).
Watering frequency: The frequency depends on several factors—light, temperature, humidity, and pot size. In general, you’ll water your Epipremnum aureum every 7–10 days in the spring and summer (when it’s growing actively) and every 14–21 days in the fall and winter (when growth slows down). If your Epipremnum aureum is in a low-light area, it will need less water; if it’s in a bright, warm spot, it will need more.
Signs of watering problems: Yellow leaves that feel mushy (overwatering); wilting leaves that perk up after watering (underwatering); brown, slimy roots (root rot from overwatering); dry, crispy leaf tips (underwatering or low humidity).
3. Soil: Well-Draining Soil Prevents Root Rot
Epipremnum aureum hates sitting in wet soil, so choosing the right potting mix is crucial. A well-draining soil will allow water to flow through easily, preventing root rot and keeping the roots healthy. Here’s what to look for:
Ideal soil mix: A lightweight, well-draining potting mix. You can buy a pre-made indoor plant potting mix (look for one labeled “for tropical plants” or “for Epipremnum aureum”) or make your own by mixing equal parts peat moss (or coco coir), perlite, and potting soil. The perlite adds drainage, while the peat moss/coco coir retains just enough moisture.
Avoid heavy soils: Never use garden soil or heavy clay soil—these retain too much water and will suffocate the roots. Also, avoid soil mixes that contain a lot of compost or organic matter (they can hold too much moisture, leading to root rot).
Pot drainage: Make sure your pot has drainage holes at the bottom! Without drainage, water will pool at the bottom of the pot, causing root rot. If you fall in love with a pot that doesn’t have drainage holes, you can either drill holes in it or place a layer of gravel at the bottom to create a drainage layer (though drilling holes is better).
4. Temperature & Humidity: Tropical Conditions (But Not Too Hot!)
Epipremnum aureum is a tropical plant, so it prefers warm temperatures and moderate humidity. Here’s how to keep it comfortable:
Temperature: The ideal temperature range for Epipremnum aureum is 65–85°F (18–29°C). It can tolerate temperatures as low as 50°F (10°C) for short periods, but prolonged exposure to cold (below 50°F) will damage the leaves and slow growth. Avoid placing your Epipremnum aureum near drafty windows, air conditioners, heaters, or doors—sudden temperature changes can stress the plant.
Humidity: Epipremnum aureum thrives in moderate humidity (40–60%). While it can tolerate lower humidity (like the dry air in most homes), low humidity can cause dry, crispy leaf tips. If you notice your Epipremnum aureum’ leaf tips turning brown, it’s likely due to low humidity. Here are easy ways to increase humidity:
- Place a tray of water near the plant (the water will evaporate and add moisture to the air).
- Group your Epipremnum aureum with other plants (plants release moisture through transpiration, creating a more humid microclimate).
- Use a humidifier (this is the most effective way, especially in dry climates or during winter).
- Mist the leaves occasionally (this helps temporarily, but avoid misting too often—excess moisture on the leaves can lead to fungal issues).
5. Fertilizer: Feed Sparingly (Too Much Is Harmful)
Epipremnum aureum doesn’t need a lot of fertilizer, but a little boost during the growing season will help it grow faster and stay vibrant. Here’s how to fertilize correctly:
When to fertilize: Fertilize your Epipremnum aureum during the growing season (spring and summer) every 4–6 weeks. Stop fertilizing in the fall and winter, when growth slows down—fertilizing during this time can burn the roots.
What fertilizer to use: Use a balanced, water-soluble fertilizer (like 10-10-10 or 20-20-20) diluted to half strength. Diluting is key—too much fertilizer will burn the roots and cause brown leaf tips or yellow leaves. You can also use a slow-release fertilizer (pellets) once a year in the spring, which will release nutrients gradually over time.
Signs of fertilizer problems: Brown, crispy leaf tips (over-fertilization); pale, yellow leaves (over-fertilization or nutrient burn); slow growth (under-fertilization, though this is less common with Epipremnum aureum).
Part 3: Common Epipremnum aureum Problems & How to Fix Them (Step-by-Step)
Even with the best care, your Epipremnum aureum may run into issues from time to time. The good news is that most problems are easy to fix once you know what to look for. Below are the most common Epipremnum aureum problems, their causes, and step-by-step solutions to get your plant back on track.
Problem 1: Yellow Leaves
Yellow leaves are one of the most common issues new Epipremnum aureum owners face—and they can mean several things. Let’s break down the causes and fixes:
Cause 1: Overwatering (most common). If the yellow leaves are mushy, limp, and fall off easily, you’re probably overwatering. Overwatering causes root rot, which prevents the plant from absorbing water and nutrients, leading to yellow leaves.
Fix: Stop watering immediately. Remove the plant from its pot and check the roots—if they’re brown, slimy, and smell bad, you have root rot. Trim off all rotted roots with clean, sharp scissors (make sure to cut until you reach healthy, white roots). Repot the plant in fresh, well-draining soil and a clean pot with drainage holes. Water only when the soil is dry to the touch.
Cause 2: Underwatering. If the yellow leaves are dry, crispy, and the plant is wilting, you’re underwatering. Epipremnum aureum can tolerate underwatering, but prolonged dryness will cause leaves to yellow and drop.
Fix: Water the plant thoroughly until water drains out of the bottom. Check the soil more frequently (every 5–7 days) and water when the top 1–2 inches are dry. If the soil is extremely dry and hard, you may need to water it twice (wait 10 minutes after the first watering, then water again) to ensure the soil absorbs moisture.
Cause 3: Too much direct sun. If the yellow leaves have brown, crispy edges, it’s likely sunburn from direct sunlight.
Fix: Move the plant to a spot with bright, indirect light. Trim off the severely damaged leaves (they won’t turn green again) and monitor the plant for new growth.
Cause 4: Natural aging. Older leaves (usually the ones at the bottom of the plant) will naturally turn yellow and drop off as the plant grows. This is normal—just trim off the yellow leaves to keep the plant looking tidy.
Problem 2: Brown Leaf Tips
Brown, crispy leaf tips are another common issue, and they’re usually a sign of environmental stress. Here’s what to do:
Cause 1: Low humidity. Dry air (common in homes with heaters or air conditioners) causes the leaf tips to dry out and turn brown.
Fix: Increase humidity using the methods mentioned earlier (humidifier, tray of water, grouping plants). Trim off the brown tips with clean scissors (cut at an angle to make it look natural)—this won’t hurt the plant and will make it look healthier.
Cause 2: Over-fertilization. Too much fertilizer burns the roots, which causes brown leaf tips.
Fix: Stop fertilizing for 4–6 weeks. If the problem persists, flush the soil with water (water thoroughly until water drains out of the bottom) to remove excess fertilizer. Dilute fertilizer to half strength when you resume feeding.
Cause 3: Tap water with chemicals. Tap water often contains chlorine, fluoride, or salts, which can build up in the soil and cause brown leaf tips (especially in sensitive varieties like Snow Queen).
Fix: Use filtered water, distilled water, or let tap water sit out overnight (this allows chlorine to evaporate) before watering. Every 2–3 months, flush the soil with water to remove chemical buildup.
Problem 3: Leggy Growth (Long Stems, Few Leaves)
Leggy growth—long, thin stems with large gaps between leaves—is a sign your Epipremnum aureum isn’t getting enough light. When Epipremnum aureum doesn’t get enough light, it stretches toward the nearest light source, resulting in leggy growth.
Fix: Move the plant to a spot with brighter, indirect light. This will encourage new growth and make the plant bushier. You can also prune the leggy stems to promote bushier growth—trim the stems just above a leaf node (the small bump where a leaf grows from the stem). The plant will grow new branches from the node, making it fuller. You can even use the pruned stems to propagate new plants (more on that later!)
Problem 4: Wilting Leaves (Even After Watering)
If your Epipremnum aureum is wilting even after you’ve watered it, there are two likely causes: root rot or underwatering (yes, underwatering can cause wilting too!)
Cause 1: Root rot (overwatering). If the soil is moist but the plant is wilting, root rot is the culprit. The rotted roots can’t absorb water, so the plant wilts even though the soil is wet.
Fix: Follow the root rot fix from Problem 1—trim rotted roots, repot in fresh soil, and water sparingly.
Cause 2: Underwatering (severe). If the soil is bone dry and the leaves are wilted, the plant is severely dehydrated. Even after watering, it may take a few hours for the leaves to perk up.
Fix: Water thoroughly twice (as mentioned earlier) to ensure the soil absorbs moisture. Check the soil more frequently to avoid underwatering again.
Problem 5: Pests (Mealybugs, Spider Mites, Aphids)
Epipremnum aureum is relatively pest-resistant, but it can still get infested with common houseplant pests, especially if it’s stressed (from low light, overwatering, or poor air circulation).
Common pests to watch for:
- Mealybugs: Small, white, fuzzy bugs that cluster on the undersides of leaves and along stems. They suck sap from the plant, causing yellow leaves and sticky residue (honeydew).
- Spider mites: Tiny, red or brown bugs that spin fine webs on the leaves. They cause yellow spots and dry, crispy leaves.
- Aphids: Small, green or black bugs that cluster on new growth. They also suck sap, causing distorted leaves.
Fix: For small infestations, wipe the leaves with a damp cloth or a cotton swab dipped in rubbing alcohol (this kills the pests on contact). For larger infestations, use an insecticidal soap or neem oil (follow the instructions on the bottle). Repeat the treatment every 7–10 days until the pests are gone. Also, isolate the infested plant from other plants to prevent the pests from spreading.
Part 4: Advanced Tips for Thriving Epipremnum aureum (Propagation, Pruning, Repotting)
Once you’ve mastered the basics and fixed any common problems, you can take your Epipremnum aureum care to the next level with these advanced tips. These will help your Epipremnum aureum grow faster, fuller, and even multiply—so you can share your greenery with friends!
1. Propagation: Grow New Epipremnum aureum for Free
Epipremnum aureum is one of the easiest plants to propagate, and it’s a fun way to expand your plant collection (or give plants as gifts). The best part? You can propagate it in water or soil—both methods work well for beginners.
Propagation in water (simplest method):
1. Take a healthy stem cutting from your Epipremnum aureum—look for a stem that’s 4–6 inches long with at least 2–3 leaf nodes (the bumps where leaves grow). Use clean, sharp scissors or pruning shears to cut the stem just below a leaf node.
2. Remove the leaves from the bottom 1–2 nodes (this is where the roots will grow—leaves in the water will rot).
3. Place the cutting in a glass or jar of water, making sure the nodes are submerged (the leaves should be above the water).
4. Place the jar in a spot with bright, indirect light. Change the water every 3–5 days to keep it clean and prevent bacterial growth.
5. After 2–4 weeks, you’ll see small white roots growing from the nodes. Once the roots are 1–2 inches long, you can transplant the cutting into soil (or keep it in water permanently—Epipremnum aureum grows well in water too!).
Propagation in soil:
1. Follow steps 1–2 above (take a stem cutting and remove bottom leaves).
2. Dip the cut end of the stem in rooting hormone (optional, but it helps speed up root growth).
3. Plant the cutting in a small pot with well-draining soil. Water thoroughly and place in bright, indirect light.
4. Keep the soil slightly moist (but not wet) until roots form (about 3–4 weeks). You can check for roots by gently tugging on the cutting—if you feel resistance, roots have grown!
2. Pruning: Keep Your Epipremnum aureum Bushy & Tidy
Pruning is essential for keeping your Epipremnum aureum bushy and preventing leggy growth. It also encourages new growth and removes dead or damaged leaves. Here’s how to prune:
- Use clean, sharp scissors or pruning shears.
- Trim stems just above a leaf node (this is where new growth will sprout).
- Focus on pruning leggy stems, dead or yellow leaves, and stems that are growing too long.
- Prune in the spring or summer (growing season) for best results—avoid pruning in fall/winter when growth is slow.
Don’t be afraid to prune! Epipremnum aureum is resilient and will bounce back quickly with new growth. You can even prune up to 1/3 of the plant at once if it’s very leggy.
3. Repotting: Give Your Epipremnum aureum Room to Grow
Epipremnum aureum grows quickly, and eventually, it will outgrow its pot. Repotting gives the roots more room to grow and prevents root bound (when roots wrap around the pot, preventing water and nutrient absorption). Here’s how to repot:
When to repot: Repot every 1–2 years, or when you see roots growing out of the drainage holes, or the plant is growing slower than usual.
How to repot:
1. Choose a pot that’s 1–2 inches larger than the current pot (too big of a pot will hold too much water, leading to root rot).
2. Fill the bottom of the new pot with a layer of well-draining soil.
3. Gently remove the Epipremnum aureum from its current pot—tap the sides of the pot to loosen the soil, then pull the plant out by the base (be careful not to damage the roots).
4. Loosen the root ball slightly (if it’s root bound) to encourage new root growth.
5. Place the plant in the new pot, add soil around the sides, and press down gently to secure it. Water thoroughly and place in bright, indirect light.
Repot in spring or summer (growing season) so the plant can recover quickly.
Part 5: Final Tips for New Epipremnum aureum Parents
To wrap up, here are a few final tips to help you keep your Epipremnum aureum thriving for years to come:
1. Be patient: Plants grow slowly, so don’t expect immediate results. It may take a few weeks for your Epipremnum aureum to recover from problems or show new growth—trust the process!
2. Observe your plant: The best way to care for your Epipremnum aureum is to pay attention to it. Notice how it responds to light, water, and humidity—if the leaves start to yellow or wilt, it’s trying to tell you something.
3. Don’t overcomplicate it: Epipremnum aureum is a simple plant—you don’t need fancy tools or expensive fertilizers. Stick to the basics (bright indirect light, well-draining soil, water when dry) and you’ll be fine.
4. Have fun: Plant parenting is supposed to be enjoyable, not stressful. If you make a mistake (and you will!), don’t worry—Epipremnum aureum is forgiving, and you can always fix it. Celebrate small wins, like new leaves or successful propagation!
The Epipremnum aureum is more than just a plant—it’s a perfect companion for new plant parents, a beautiful addition to any home, and a reminder that gardening doesn’t have to be complicated. With the tips in this guide, you now have everything you need to troubleshoot common problems, master the basics of care, and even grow more Epipremnum aureum plants for free. Remember: every plant parent starts somewhere, and the most important thing is to learn from your mistakes and enjoy the journey.
So go ahead—bring home a Epipremnum aureum, give it a little love, and watch it thrive. Before you know it, you’ll be a confident plant parent with a lush, trailing Epipremnum aureum that’s the envy of all your friends!
Advertisement
Learn More
-

- July 16,2026
- Common Diseases & Pest-Related Disorders of Nepeta cataria: Full Identification, Organic Treatment and Long-Term Prevention Guide
-
- July 7,2026
- Potted Plants or Cut Flowers for Holidays? A Comparison of Aromatic Plant Gift Options
-
- July 2,2026
- Detailed Planting Steps for Quercus palustris in a Home Garden!
-
- June 24,2026
- Conveying Sentiments Through Floral Fragrance: The Cultural Significance of Gifting Flowers on International Holidays
-
- June 15,2026
- Why are the leaves of Prunus laurocerasus attacked by caterpillars?
-
- June 9,2026
- Fresh Flowers Bring Vitality, Dried Flowers Offer Delight: A Guide to Choosing High-Quality, Fragrant Plants for Long-Term Enjoyment


Advertisement

 Poisonous and danger
 Edible and medicinal
 Wild and common weed